
Reality. Reborn.
Turning inspiration into art with Adobe Illustrator CC. Learn more about the artists at Invisible Creature…
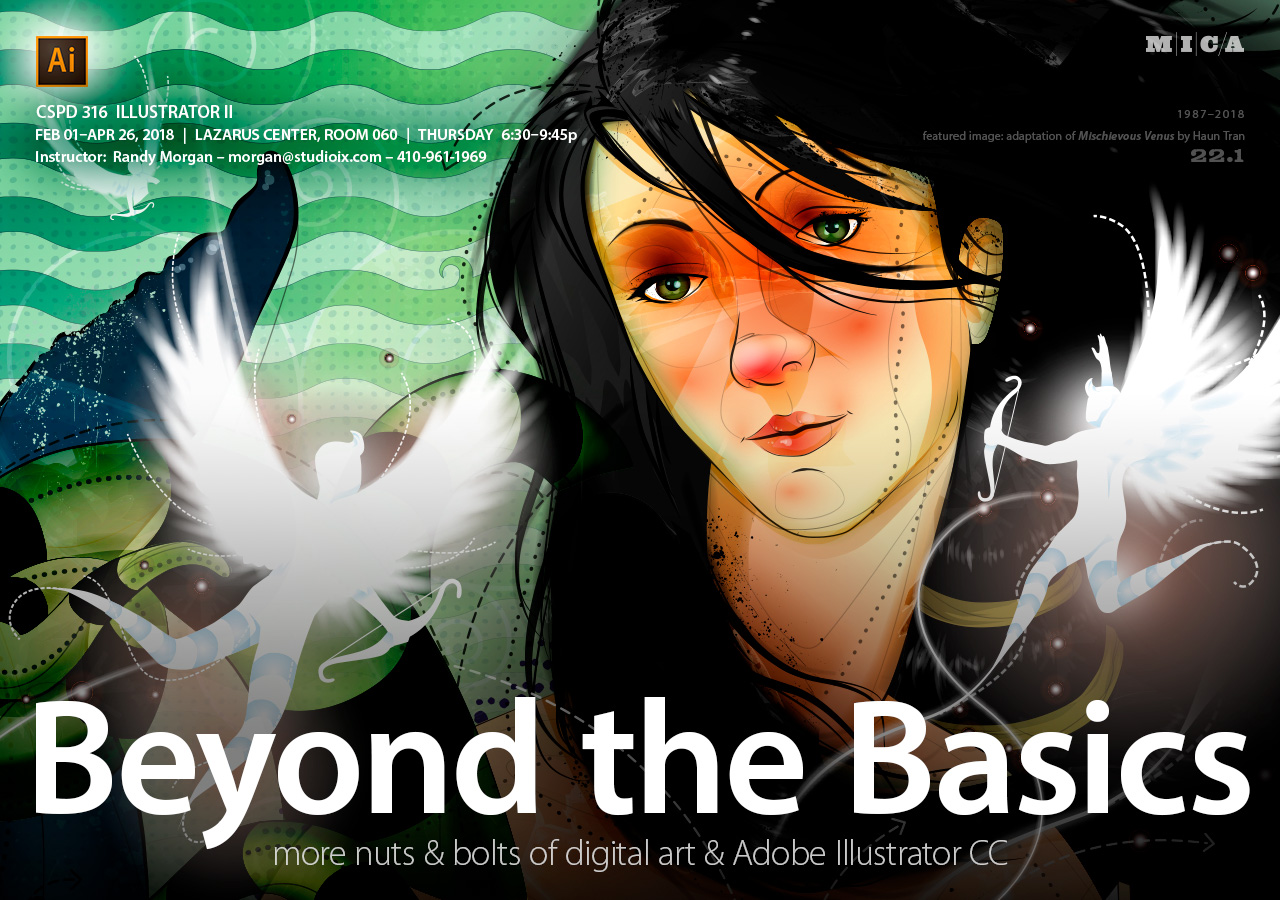
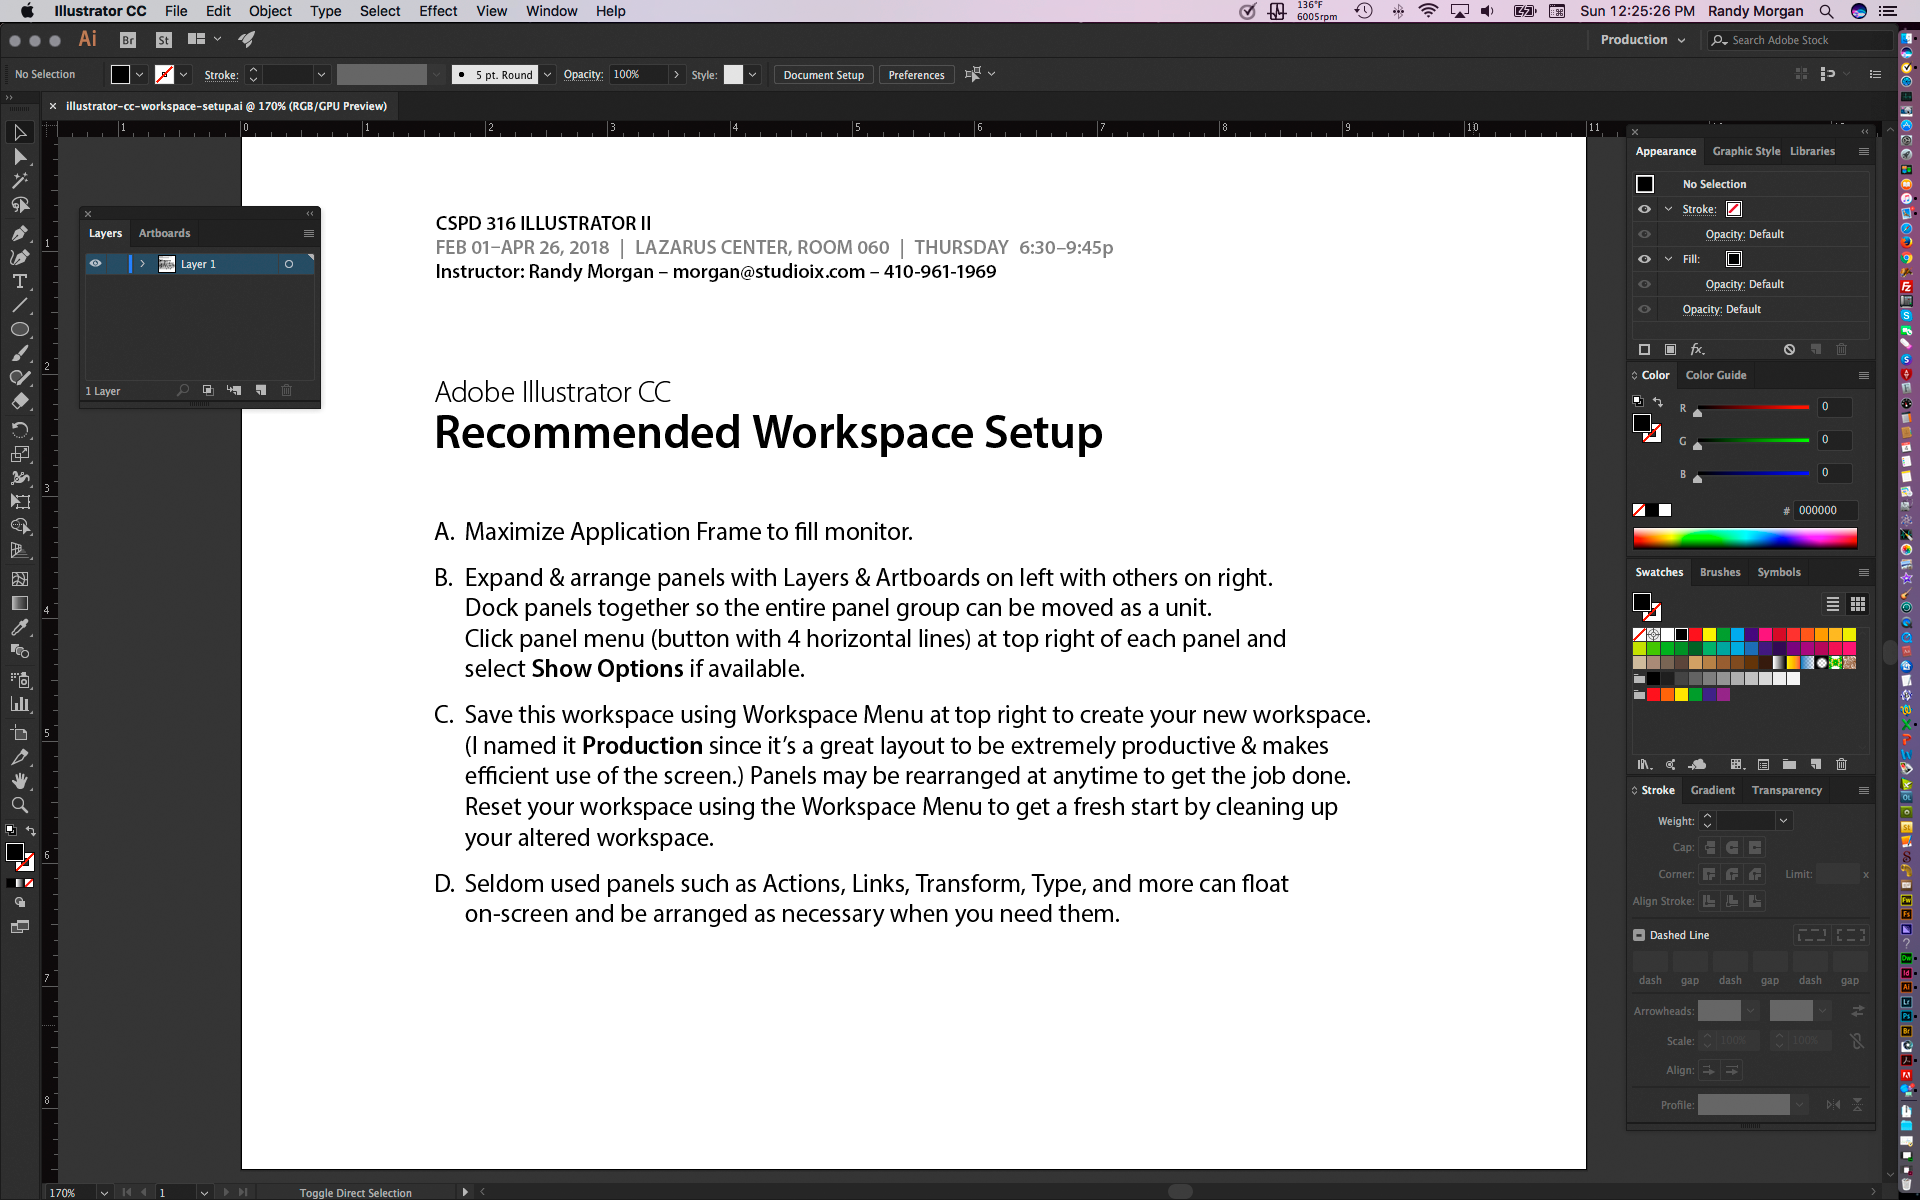
CSPD 316 Illustrator II
Illustrator II provides students the opportunity to expand their working knowledge of Adobe® Illustrator® CC (current version: 2018 Release, v22x). Tips and techniques using gradients, masks, styles, brushes, symbols & patterns, color, blending & transparency are just a few of the topics that will be explored. Students will learn how Illustrator files are exported and used in other applications such as Photoshop® and InDesign®. Adobe Illustrator CC 2018 new features and best practices will be discussed, investigated and utilized throughout this course.
Prerequisite: CSPD 301 Illustrator I or equivalent experience
Bonus: experience with drawing, painting, color theory, design, sculpture, photography, light & shadow, psychology of art & human emotions, art therapy, and how the Universe works will be to your benefit :)
Recommended materials/supplies: students should bring a notebook and pen/pencils, as well as a USB Flash drive to transfer digital files to & from class.
Food & Drink: students are encouraged to bring food and drink to class. We'll have a break during our sessions. Local restaurants are limited and campus vending machines are, well, vending machines… loaded with who knows what? Bring drinks, dinner & snacks, it's all good :)
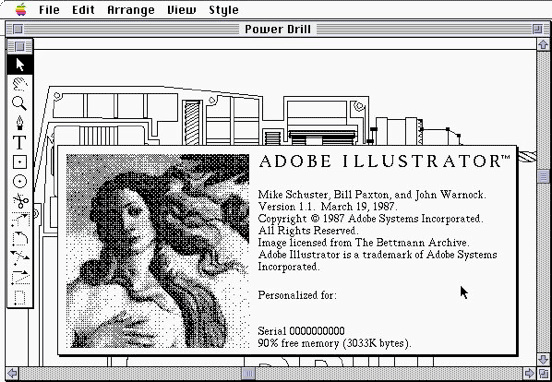
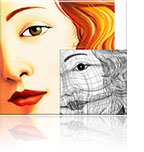
![]() Adobe Trivia: Illustrator and Photoshop are siblings, with Illustrator being the big sister and Photoshop the little brother (Illustrator was a 1987 Adobe creation/release with Botticelli's Venus as it's icon (female) and Photoshop as an acquisition by the Knoll brothers (Thomas & John, both males) in the late 1980s. (Thomas Knoll is still involved with the development of Photoshop and John Knoll is Chief Creative Officer at Industrial Light & Magic for Lucasfilm, LTD.) Adobe thought Photoshop would be second to Illustrator, but they were mistaken – Photoshop took off and proved to be the more popular of the two applications due to it's unique capabilities in manipulating photographs (bitmap images). Both applications work extremely well together in being able to produce vector graphics & raster images (bitmaps) for artists, designers, photographers and other creatives around the world.
Adobe Trivia: Illustrator and Photoshop are siblings, with Illustrator being the big sister and Photoshop the little brother (Illustrator was a 1987 Adobe creation/release with Botticelli's Venus as it's icon (female) and Photoshop as an acquisition by the Knoll brothers (Thomas & John, both males) in the late 1980s. (Thomas Knoll is still involved with the development of Photoshop and John Knoll is Chief Creative Officer at Industrial Light & Magic for Lucasfilm, LTD.) Adobe thought Photoshop would be second to Illustrator, but they were mistaken – Photoshop took off and proved to be the more popular of the two applications due to it's unique capabilities in manipulating photographs (bitmap images). Both applications work extremely well together in being able to produce vector graphics & raster images (bitmaps) for artists, designers, photographers and other creatives around the world.
InDesign was the late comer into the Adobe family in 2000, an acquisition from Aldus in 1994 (formerly Aldus PageMaker, then Adobe PageMaker – aka RageMaker among designers and pre-press technicians due to the multiple work-arounds needed in order to print the digital files correctly) and is viewed as a baby sister to the two older siblings. Adobe released InDesign 2 in 2002 and in an interview with an Adobe representative I was asked what I thought of the new version (since version 1 had numerous issues). I excitedly answered, "It's Adobe Illustrator on page layout steroids!" InDesign has many of the same capabilities Illustrator does, with it's strength in being able to layout multi-page documents and process type (lots of type!) effortlessly.

Adobe® Creative Cloud™ Mobile Apps
FREE Creative Cloud mobile apps…
Adobe Photoshop Lightroom for mobile
Now, you can get your creative on anywhere!
![]()
Third-party Plug-ins for Adobe Illustrator CC
Add even more capabilities to Adobe Illustrator CC with plug-ins.
![]() Fontself Maker
Fontself Maker
Create fonts the easy way in Illustrator CC and Photoshop CC!
![]()
Creative plug-ins for Adobe Illustrator CC – add tools to enhance drawing, tasks and effects – available separately or in bundles.
View a comprehensive list of plug-ins at adobe.com
Find the latest plug-ins from third-party developers.
Schedule at a glance (subject to revision)
February
01 Introduction: overview of syllabus, required materials, discuss Adobe® Creative Cloud™ and project and exam schedule. Review Illustrator basics and workflow strategies.
08 Lecture/Lab: review vector graphics (resolution independent objects) & raster images (resolution dependent bitmaps). Exploration of drawing tools, paths, segments & anchors. Investigation of menu commands & tools to modify paths. Using the Brushes panel to create unique lines & marks.
15 Critique/Lecture/Lab: working with color, gradients, blends and the Gradient Mesh tool. Protecting Your Assets (adding metadata). Student presentations and digital file collection.
22 Critique/Lecture/Lab: continue working with color, gradients, blends and meshes for creative fills and strokes. Review Clipping Masks and introduce Opacity Masks.
March
01Critique/Lecture/Lab: more about typography in Illustrator. Exploring the Touch Type tool, threading text and styles. Student presentations and digital file collection.
08Critique/Lecture/Lab: continue working with typography and production techniques. Review logo creation workflow, techniques and various file prep to produce final product(s). Student presentations and digital file collection. Bring a ruler or tape measure and a magnifying glass or loupe (real-world Zoom Tools).
15Spring Break: enjoy your break!
Don't forget the sun screen! Send a postcard, better yet, create a postcard!
22Critique/Lecture/Lab: exploration of the Perspective Grid and drawing in perspective.
Working with three dimensional effects, filters and more to create dimensional graphics.
29Class postponed. Keep playing in Illustrator and we'll see everyone next week. Have a great Easter :)
April
05Critique/Lecture/Lab: Working with Live Paint, patterns and brushes. Student presentations and digital file collection.
12Critique/Lecture/Lab: Illustrator and the Creative Cloud – Photoshop. Working with Live Paint and custom brushes. Student presentations and digital file collection.
19Critique/Lecture/Lab: Illustrator and the Web – image preparation techniques for digital display. Student presentations and digital file collection.
26Critique/Lecture/Lab: Illustrator and the Web – image preparation techniques for digital display. Student presentations and digital file collection.
May
03Extended Final Session: Illustrator and Print – image preparation techniques for printing. Review file formats and best practices. Q&A session about the Adobe Creative Cloud. Student presentations & digital file collection. Wrap up with What's Next?
Notes & Projects
The Birth of Venus
Take a look at the history of Adobe Illustrator.
The Adobe Illustrator Story
When Adobe Illustrator first shipped in 1987, the new product not only altered Adobe's course, it changed drawing and graphic design forever. See how Adobe Co-Founder John Warnock first conceived of Illustrator as a PostScript drawing tool and how PostScript's Bézier curves could be applied to the shapes illustrators painstakingly created by hand. – May 2014, video, 19:01
Learn more about the history of Adobe Illustrator
Adobe Illustrator 88 Promotional Video
A look into the past with this Illustrator 88 (version 1.7, released March 1988) promotional instructional video from Adobe Systems Inc. – c. 1988, video, 27:30
Adobe Illustrator or Adobe InDesign?
Time Matters – InDesign has a rich feature set of tools, menu commands and panels that are identical to Illustrator – draw shapes and lines, gradients, convert text to outlines, Pathfinder panel and more. At times, it's simply easier to create art and illustrations directly within InDesign since you're already working with it. You can always export your work to PDF format to make additional edits in Illustrator. Drag & drop objects from InDesign to Illustrator and vice versa. That old 20th Century technique of copy & paste between apps works too!

Project One
10 Digital Drawings (Let's see what you can do!)
Due: February 8th
Project Brief: Warm up and explore Adobe Illustrator's tools, panels and menus while creating 10 vector illustrations. Anything goes, be creative and have fun!

- Getting Started – Don't let the blank canvas syndrome interfere with this project. Just do it. This project is simply about playing with Illustrator's tools and features, it's not about creating masterpieces. Make new documents, cut loose and make a lot of marks, it's all good! Be sure to save your files to bring in for our next class.
- Create by Adobe – Adobe Create Magazine brings you profiles of some of the world’s most innovative artists—shining a spotlight on amazing work in photography, graphic design, film, type, illustration, architecture, and more.
- Illustrator Help / Workspace basics
- Illustrator Help / Tool galleries
- Illustrator Help / Drawing simple lines and shapes
- Illustrator Help / Editing paths
- Illustrator Help / About color
- Illustrator Help / Selecting objects
- Illustrator Help / Painting with fills and strokes
For those who need to know more…
- Vector Graphics – Wikipedia
- Bézier Curve – Wikipedia
- Pierre Bézier – Wikipedia – French engineer, popularized Bézier curves for computer graphics
Specifications: RGB color, raster effects: 300 ppi, Adobe Illustrator format.

Follow your passions with Adobe Illustrator!
Click for larger image.
Project Two
Put Your Heart Into It! (Valentine's Day for All)
Due: February 15th
Project Brief: Use Valentine's Day as a theme and create an illustration (or two, or more…). Continue exploring Adobe Illustrator's tools, panels and menus. Just like Project One, anything goes, be creative, have fun and make something exciting!
- Getting Started – Search the Web, using terms such as valentines day, hearts, love, romance, etc. for inspiration. Take advantage of tools at your disposal – doing research for inspiration is fact finding, not cheating. Think of traditional artists going to museums, like the Louvre and copying paintings by the Masters – they are actively and passionately learning techniques to develop their skills; not cheating, but learning! The Web is a valuable resource, use it.
- Illustrator Help / About Color
- Illustrator Help / Drawing basics
- Illustrator Help / Draw with the Pen, Curvature, or Pencil tool
- Illustrator Help / Drawing with the Pen, Pencil or Flare tool
- Illustrator Help / Transforming objects
- Illustrator Help / Combining objects
- Illustrator Help / Creating shapes using Shape Builder Tool
- Illustrator Help / Brushes
- Bitmap vs Vector – video, 5:00
- Photoshop Help / Image essentials – info about bitmaps and vectors
- Raster & Vector
Specifications: RGB color, raster effects: 300 ppi, Adobe Illustrator format.
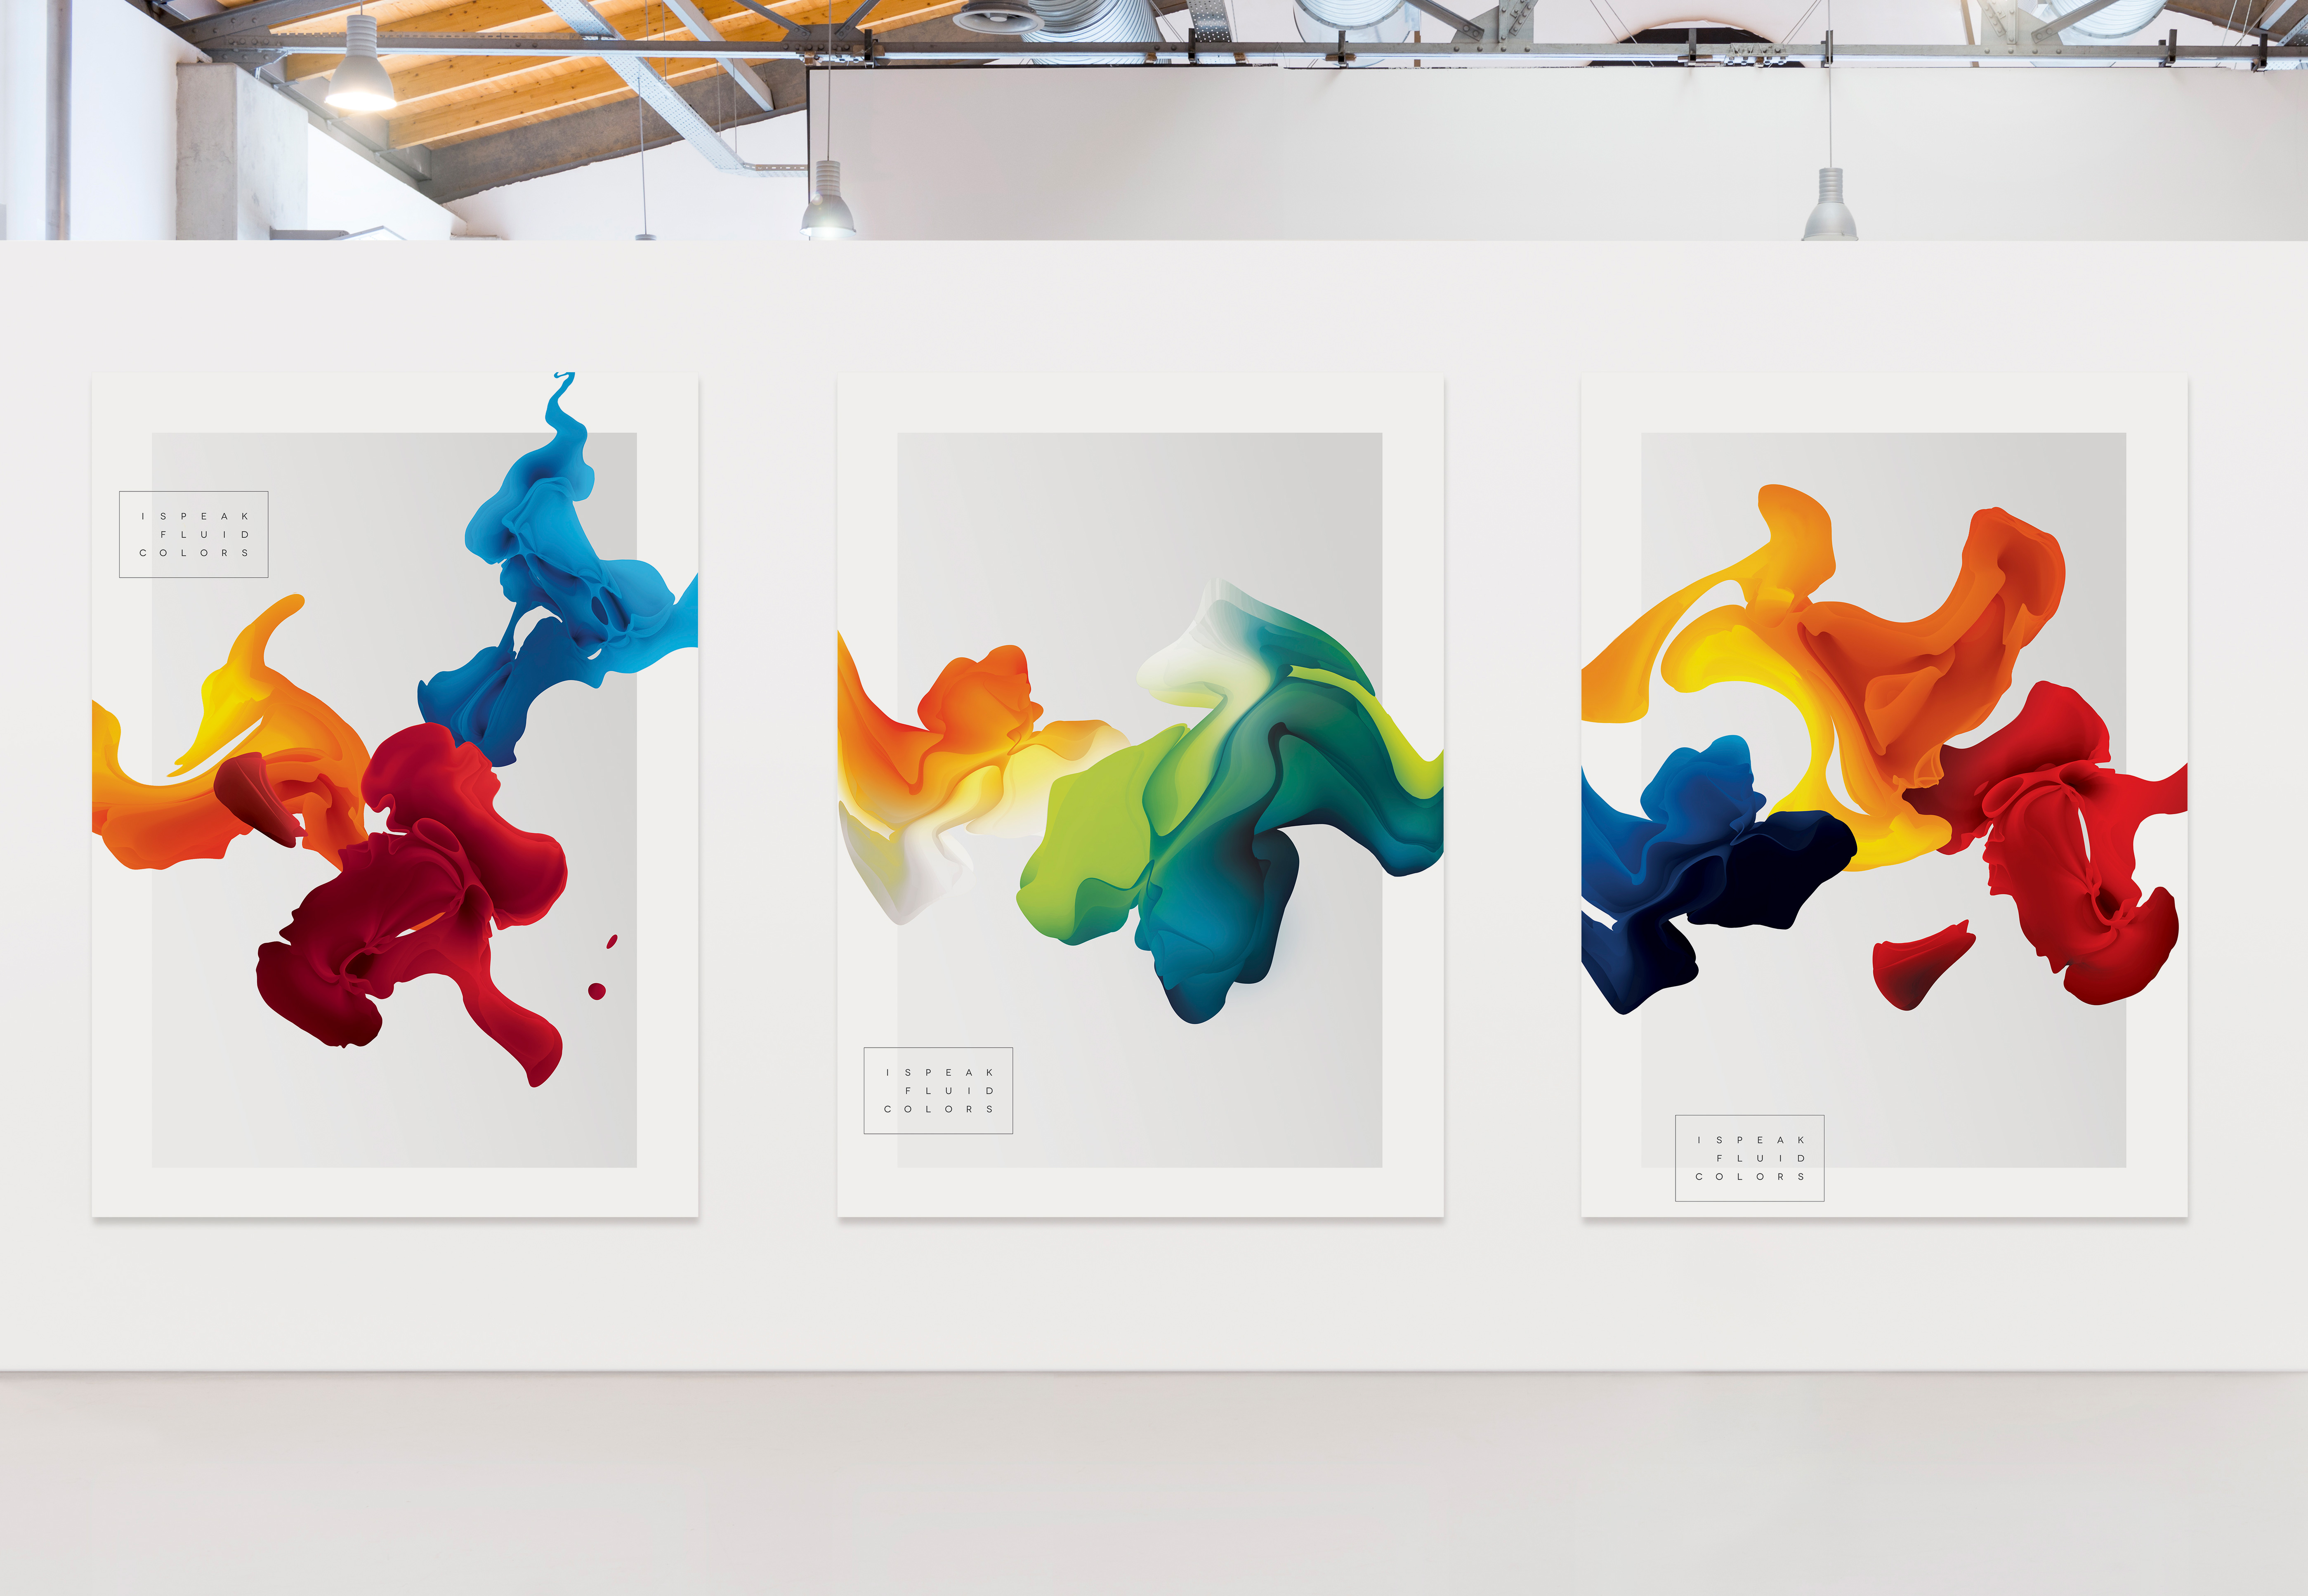
I Speak Fluid Colors
Graphic designer Maria Grønlund recently demonstrated the imaginative Adobe Illustrator CC techniques behind her I speak fluid colors series. Here, you can watch a recording of the live demo, and get to know Maria in her home in Denmark. Click for larger image.
Project Three
Blends & Gradients
Due: February 22nd
Project Brief: Blends & gradients are incredible tools for creating art in Adobe Illustrator. Blending objects like pickets of a fence, jewels, stars and more allow you to quickly create complex illustrations. Gradient fills and strokes can be used to add realism to your art. See what you can create this week using blends & gradients.
- Getting Started – Observe your surroundings – gradients are everywhere. Subtle and harsh color transitions occur naturally with various light sources, angles of illumination, time-of-day, location, etc. Artists have challenged themselves for centuries with trying to recreate realistic color, light & shadows.
- Light & Shadow – search the Web for more information and images about light & shadow.
- Illustrator Help / Gradients
- Illustrator Help / Transparency and blending modes
- Illustrator Help / Blending objects
- Illustrator Help / Work with effects
- Illustrator Help / Summary of effects
- Illustrator Help / Group and expand objects
- Illustrator Help / Layers – info about working with layers
Specifications: RGB color, raster effects: 300 ppi, Adobe Illustrator format.
Project Four
What a Mesh!
Due: March 1st
Project Brief: Now that you've warmed up to Illustrator's tools, panels and menus, try your hand at creating dimensional imagery with the Gradient Mesh tool. Feel free to use additional tools, including masks, text and anything else, while creating two or more vector illustrations.
- Illustrator Help / Meshes
- Illustrator Help / Clipping Masks
- Learn the Gradient Mesh Tool – video, 9 mins
- How to use Opacity Masks – video, 8 mins
- envatotuts+ – How to Create a Traditional Chinese Bird and Flower Painting Using Gradient Mesh
Specifications: RGB color, raster effects: 300 ppi, Adobe Illustrator format.
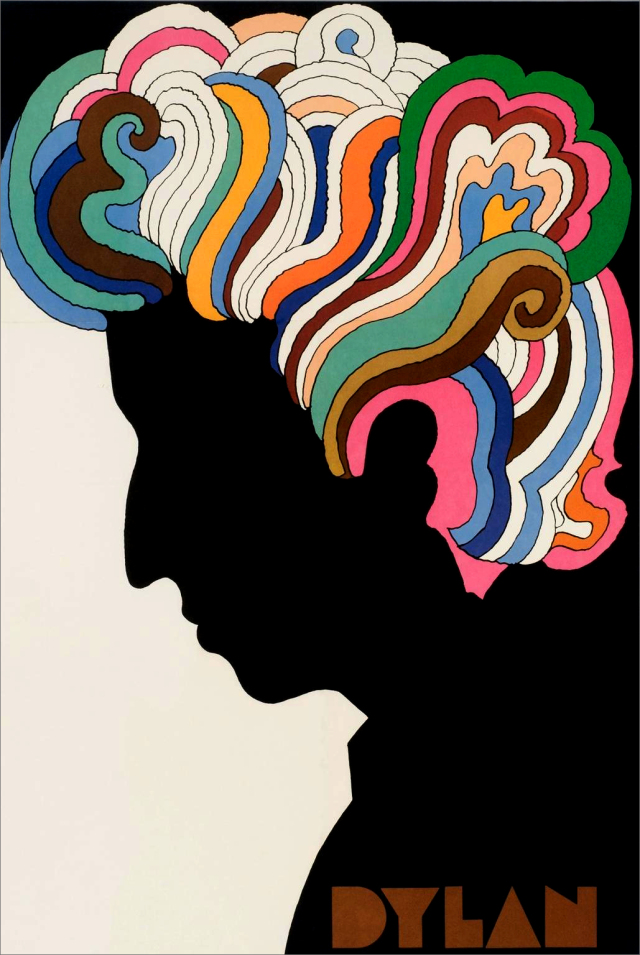
Dylan by Milton Glaser – this poster was included in the album, Bob Dylan's Greatest Hits, 1967 Columbia Records (pre-Illustrator).
Learn more…
Milton Glaser: Designing Dylan
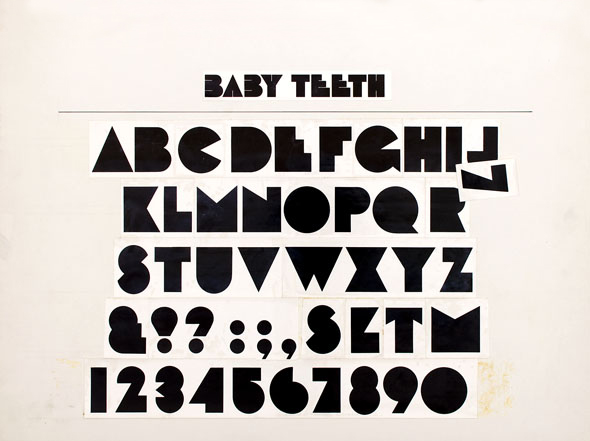
Baby Teeth – Milton Glaser designed this font in 1964.
About Printer’s Marks
When preparing a document for printing, special marks called printer's marks are used to help the print shop determine where to trim the paper or other media, align separations and measure color data.
Project Five
Poster Design
Due: March 8th
Project Brief: OK, by now you're cruising through Illustrator's tools, panels and menus! We've worked with Illustrator's type tools and various techniques. Create a poster about your favorite subject matter. Start with a new file, 24 x 36 inches and get creative! Explore all that Illustrator has to offer and be sure to include text (don't forget to include your copyright information).
Be sure to include bleed when you create your file (0.125" on all sides). This is necessary when creating print projects that have imagery and text that go to the edge of the paper or other media.
Save a version of your file as a PDF with printer's marks. Be creative with your content and precise with the production.
- Illustrator Help / Printer's marks & bleeds
- Bleed is usually 1/8 inch or 0.125 inches around documents to be printed in the USA. It's 3 mm in Europe. Large posters, exhibition graphics and banners may use 1/4 – 2 inches or greater for bleed. Check with your print shop for exact specifications, they're ready and willing to help :)
- Illustrator Help / Creating Text
- Illustrator Help / Creating type on a path
- Illustrator Help / Scaling and rotating type
- Illustrator Help / Special characters
- Illustrator Help / Character & paragraph styles
- Illustrator Help / Text Enhancements
- Illustrator Help / Touch-based tools & enhancements | Illustrator CC
- Discover Illustrator's Touch Type Tool (introduced in 2013 release of Adobe Illustrator CC, v17)
- Touch Type – Selecting Overlapping Letters: Manipulating type with the Type Touch option may make selecting overlapping text really challenging, especially if you scale some type larger and some smaller. The solution is to select the letter that is overlapping the others and causing the selection issue (i.e. the easy one to select), use the menu, Object > Arrange > Send to Back. Now you can select the smaller letter and continue transforming!
- Intro to the Touch Type Tool – video, 3:00
- The History of Typography – Animated Short – video, 5:09
- 50 Top Typography Tutorials – creativebloq.com
- Saul Bass, Master of the Movie Title Sequence by Ilene Strizver (creativepro.com)
- Adobe Create Magazine / Eight Tips for Combining Typefaces
- Design tuts+: Rendering short hair in Adobe Illustrator
- Ionicons: free symbol font
Specifications: RGB color, raster effects: 300 ppi, Adobe Illustrator format. Include metadata.
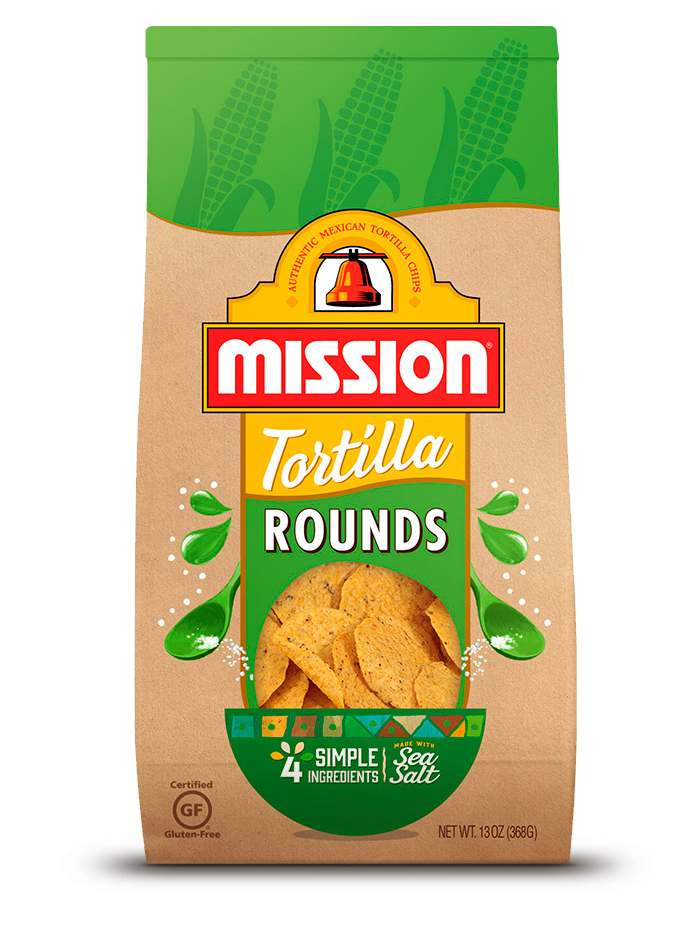
MISSION Tortilla Rounds 13 oz. Brown Bag
Adobe Illustrator is used everywhere for everything! Click for larger image.

White Ink Swatch
Create a new swatch in Adobe Illustrator CC and name it White Ink. Select Spot Color from the Color Type menu, CMYK from the Color Mode menu and enter zero for the CMYK values – press OK. Click for larger view.
Project Six
Art to 'Die' For
Due: March 22nd
Project Brief: Art for business cards, post cards, coasters, stickers, magnets, tags, packaging and more are created in Illustrator everyday, around the World. Die cut lines are easy to add to a layer to aid the print vendor in preparing the metal die for the cut outs. Try your hand at creating a print-ready file in Illustrator, complete with die cut lines. As always, be creative with the content and precise with the production :)
- Die lines are usually 1 point strokes and can be any color. Creatives usually select a favorite color from the Pantone swatch library that contrast the colors in their art.
- Duplicate objects to a new layer to create the die line.
- Combine objects together using the Unite button in the Pathfinder panel or the Shape Builder tool to create the die line.
- Name the layer die or cut line so the print vendor clearly knows which layer is to be used to make the die.
- Use the menu, Object > Path > Offset Path… press the Preview checkbox and enter an amount for the offset, select a join option and press OK (0.125 in and round are good options).
- About 'White' on Computers – white in your art or images will be the color of the paper (or other media) you print on. Think about the inks you purchase for your ink jet printers – Cyan, Magenta, Yellow and Black ink cartridges – there isn't a White ink cartridge.
- Using White Ink (a special printing process for print shops) – selecting white in Illustrator's Swatch panel or using values of 255 for RGB or 0% for CMYK in the Color panel won't indicate using white ink to a printer. Create a new swatch and name it White Ink, select Spot Color from the Color Type menu, CMYK from the Color Mode menu and enter zeros for the CMYK values (Global will automatically be selected when you choose Spot Color).
- Alternative Technique to Indicate White Ink – use a Pantone color as an alternative to creating a White Ink swatch to avoid making mistakes by using the standard white swatch (which won't be designated as white ink and could lead to issues where the paper color shows in your project). Select a Pantone color that provides extreme contrast to your art – use a vivid color such as bight orange or chartreuse, that will stand out and should be obvious it doesn't belong in the art. Clearly communicate to your print vendor this color is to be printed with white ink.
- White Ink Layer – It's a best practice to create a layer and name it White Ink for all objects that will be printed in white (you may need multiple layers for your White Ink objects since some of them may be above and below others that will be printed with different inks).
- Find a Pantone Color – online color selector where you can enter a Pantone number, color name or pick the color you're looking for
- Illustrator Help / About color – includes info on spot colors
- Illustrator Help / Use and create swatches
- Illustrator Help / Spot Colors & Transparency
- Illustrator Help / View artwork – see Previewing artwork in its final output medium for info about Separations Preview panel
- Illustrator Help / Printing color separations
Specifications: CMYK color, raster effects: 300 ppi, Adobe PDF format, high quality print option.
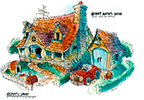
Mickey Mouse's House by Don Carson, c. 1990s – an example of creative perspective.
Read more about Drawing in the Park with Don Carson online and view his portfolio site.
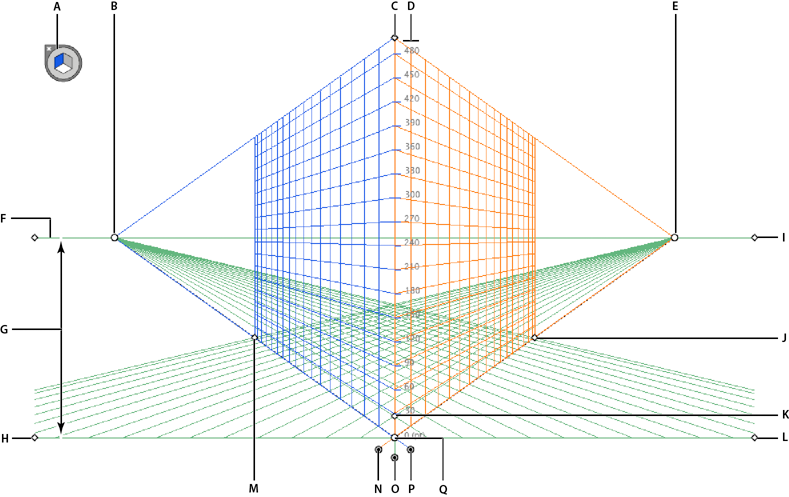
Adobe Illustrator's Perspective Grid allows for drawing in one, two or three point perspective. While you can change the grid at any time, you can only have a single perspective grid in your Illustrator file.
Adobe Illustrator's Rulers, Grids & Guides – learn more at adobe.com
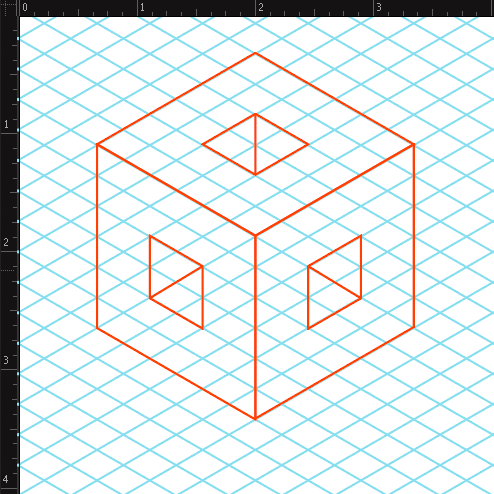
Learn how to quickly create an isometric grid using Illustrator's Rectangular Grid tool online at envatotuts+.
Need More on Isometric Projections?
Designer's Guide to Isometric Projection – Medium
Isometric Projection – Wikipedia
How to Create Advanced Isometric Illustrations Using the SSR Method – envatotuts+
Project Seven
What's Your Perspective?
Due: March 29th
Project Brief: Illustrator CC allows you to easily draw artwork in perspective, using features based on the laws of perspective drawing. Perspective in drawing is an approximate 2-dimensional representation of imagery as seen by the eye. Illustrator's perspective drawing tools were introduced in Adobe Illustrator CS5 (version 15) along with variable-width strokes, control over opacity in points on gradient meshes, the Shape Builder tool and bristle brushes in 2010.
Create two drawings in Illustrator – use the Perspective Grid tool (Shift + P) and Perspective Selection tool (Shift + V) for one drawing; use creative perspective (as explained in class) in the other. This project will really test your patience and fortitude!
- Search the web for drawing in perspective for a review of the basics or to gain a better understanding of the concept and process
- Illustrator Help / Perspective Drawing
- Illustrator Help / Define Perspective Grids – learn about the Perspective Grid, Plane Switching Widget, controls & more
- Illustrator Blog: Drawing in Perspective
- Defining Perspective Grids – video, 07:55
- Drawing Artwork in Perspective – video, 08:53
- Mapping Artwork to Perspective Grids – video, 09:26
- Perspective Drawing – PDF 1.2 MB
- Perspective Grid Color & Opacity – use the menu View > Perspective Grid > Define Grid…
- For perspective commands – use the menu, Object > Perspective…
- For perspective grid options – double-click perspective tools in Tools panel
| AI Perspective Keyboard Shortcuts | Mac | Windows |
|---|---|---|
| Perspective Grid Tool | Shift + P | |
| Perspective Selection Tool | Shift + V | |
| Perspective Grid (show/hide) | Command + Shift + I | Control + Shift + I |
| Switching perspective planes using the Perspective Selection tool | ||
| Left Grid Plane | press 1 + drag | |
| Horizontal (ground) Grid Plane | press 2 + drag | |
| Right Grid Plane | press 3 + drag | |
| No Active Grid Plane | press 4 + drag | |
| Moving objects perpendicularly to grid | press 5 + drag | |
| Copying objects in perspective | Option + drag | Alt + drag |
| Repeat transforming objects in perspective | Command + D | Control + D |
Specifications: RGB color, raster effects: 300 ppi, Adobe Illustrator format. Include metadata.
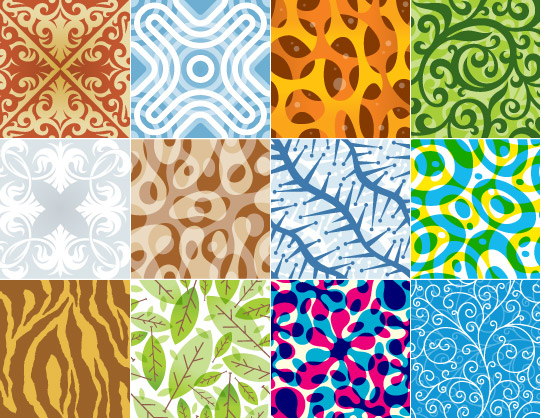
Pattern Swatches by Von Glitschka
Pattern tiles are easily created in Adobe Illustrator. Read the interview with Illustrator guru Von Glitschka.

The bristle brush was introduced in Adobe Illustrator CS5 (v15, May 2010) along with the Shape Builder tool, variable-width strokes, perspective drawing and more.
Bristle Brush Promo – video, 04:16
Project Eight
Live Paint, Patterns & Brushes
Due: April 13th
Concept: Working with live paint, patterns and brushes in Adobe Illustrator.
Project Brief: Adobe Illustrator features Live Paint, an intuitive way to create colored drawings by painting objects similar to filling in a coloring book or using watercolors to paint a pencil sketch.
Pattern tiles (repeating elements) can be produced in Adobe Illustrator by simply dragging objects, including photos, to the Swatches panel. Complex pattern tiles can be created by selecting multiple objects in your file and using the menu, Object > Pattern > Make – this will add the pattern swatch to the Swatches panel and invoke the Pattern Options dialog. Pattern tiles can be customized using the Pattern Options to create a variety of tiles. Pattern brushes can also be made from objects and pattern swatches to enhance your designs. Have fun working with patterns!
Adobe Illustrator also features a suite of brushes that let you stylize the appearance of paths. You can apply brush strokes to existing paths, or you can use the Paintbrush tool to draw a path and apply a brush stroke at the same time. Illustrator has five different types of brushes: calligraphic, scatter, art, pattern, and bristle. Custom brushes can be created, allowing for endless possibilities in creativity! Be expressive and don't worry about making mistakes!
- Getting Started – You guessed it, more observation!. Patterns are used in textile design, art, architecture, etc. Wall paper & wrapping paper, packaging, floor coverings, borders, tiles, trim work, etc. Start to carefully look at patterns and see if you can figure out if they were created in Adobe Illustrator and how they were achieved.
- Illustrator Help / Live Paint Groups
- Live Paint – video, 13:10
- Illustrator Help / Patterns
- Illustrator Help / Create and edit patterns
- Illustrator Help / Transforming objects
- Transforming Patterns – Press and hold the tilde key (~), located to the left of the number 1 key at the top of the keyboard to transform the pattern fill, leaving the shape untouched.
- Transform Panel Menu – The panel menu in the Transform panel has options for Transform Object Only (default setting), Transform Patterns Only and Transform Both.
- How to Create an Illustrative Vector Pattern Design
- Illustrator Help / Automatic corner generation | Illustrator CC
- Adobe Illustrator Guide: How to use symbols, patterns, and graphic styles – PDF 1.1 MB
- Illustrator Help / Brushes
- Illustrator Help / Painting with fills and strokes – contains info on variable-width strokes
- How to work with brushes
- Use Brushes – video, 04:00
- A Look Inside Pattern Brush Borders in Adobe Illustrator CC – video, 08:25
- Create a Pattern Brush – video, 10:00
- DesignTuts+ – Adobe Illustrator Brush tutorials
- DesignTuts+ – A Huge Compilation of 60 Free Illustrator Brushes
- 40 Awesome Sets of Free Adobe Illustrator Brushes to Bookmark
- Pattern & Brush Libraries – Adobe Illustrator ships with additional libraries that can be accessed using the panel menus (top right of panels) or Libraries buttons (bottom left of panels).
- Search for Patterns & Brushes – Search for Illustrator patterns and Illustrator brushes in your web browser and in your Adobe Creative Cloud Assets > Market – you'll find an incredible amount of resources that you can download and use to your heart's content!
Specifications: RGB color, Adobe Illustrator format.

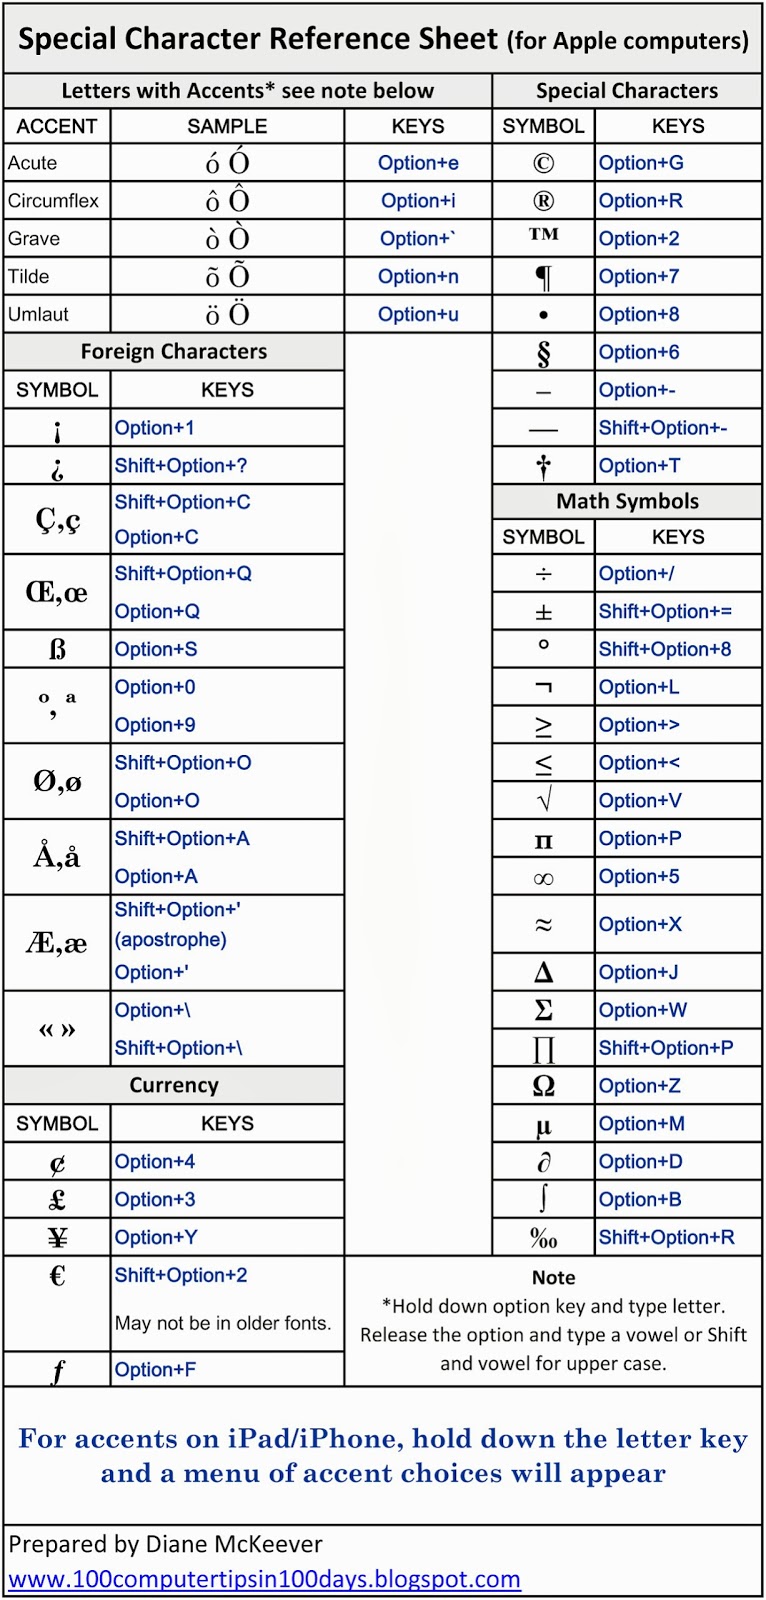
Special Chracters
Copyright symbol (Option + G), Registered Trademark symbol (Option + R) and Trademark symbol (Option + 2) can all be easily typed on a Mac.
Bonus Tip
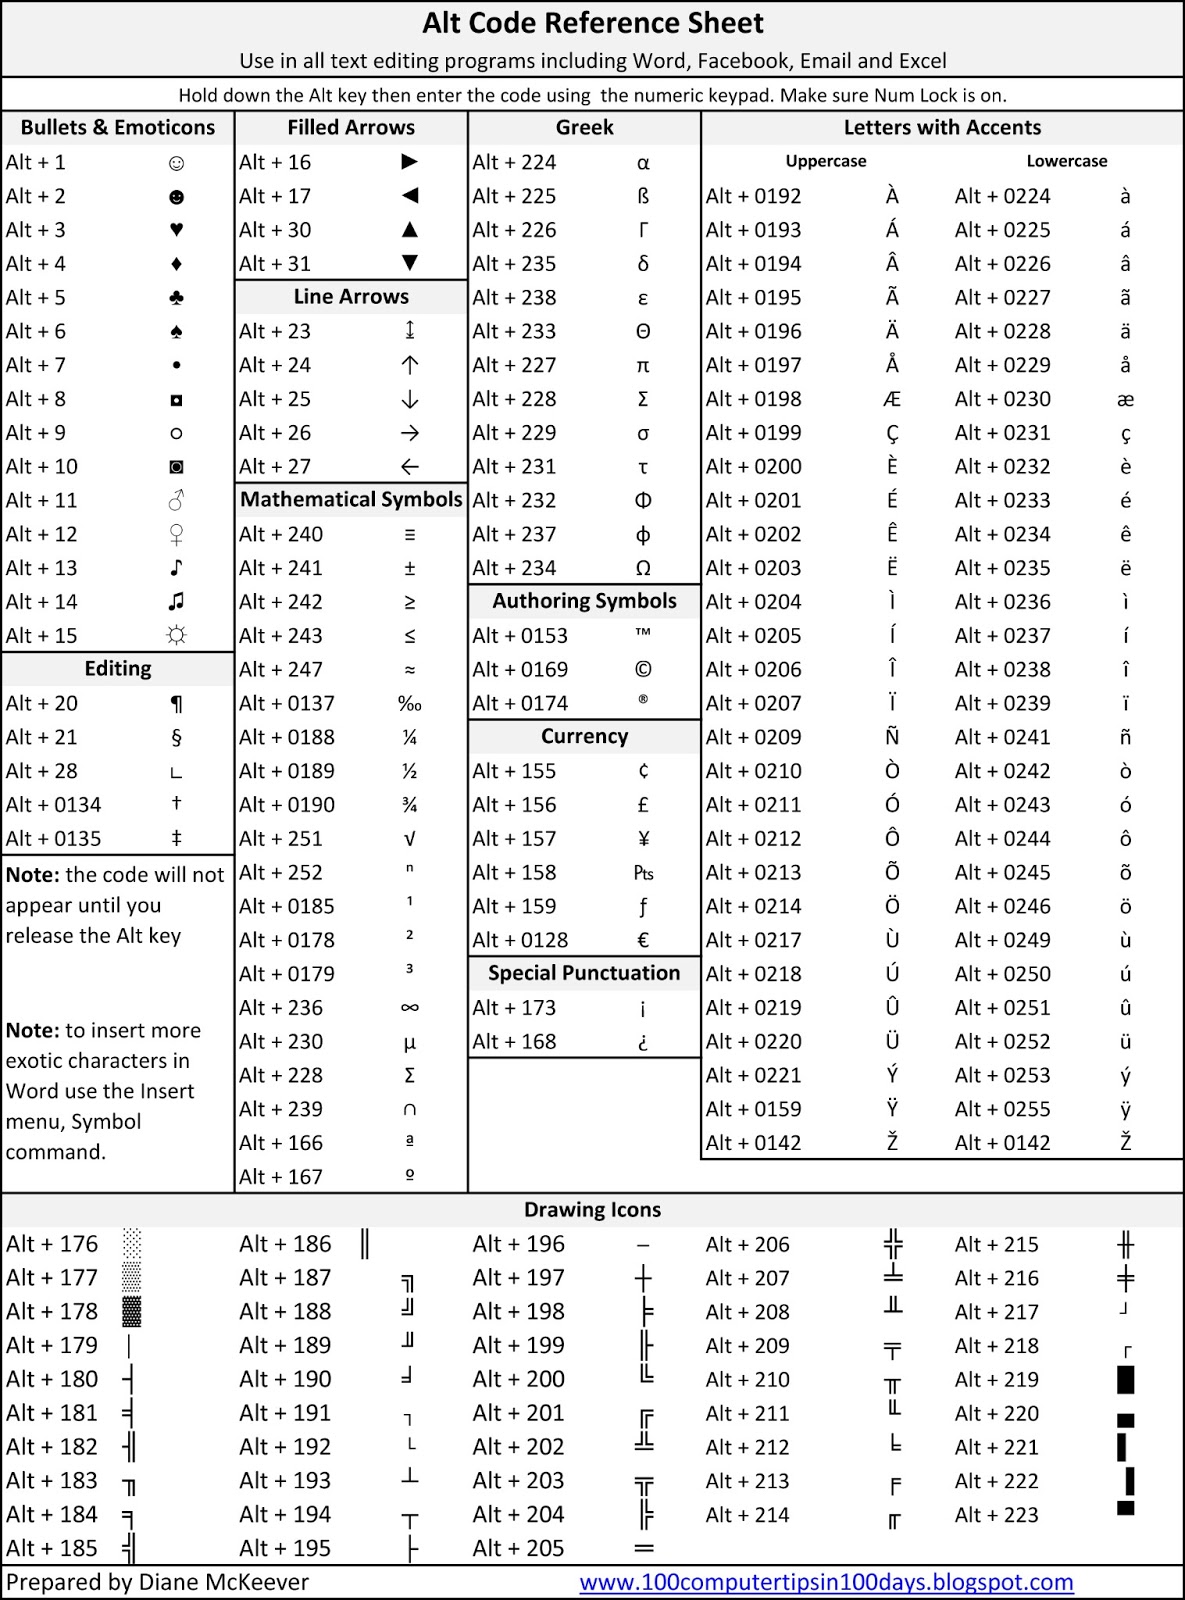
Twelve Must-know Mac OS Keyboard Shortcuts for Special Characters
Digital imaging pros know their computers inside and out, including their keyboards and important keyboard shortcuts for special characters to get the job done! The following 12 shortcuts are part of everyday keystrokes, worth memorizing to allow you to be productive and type like the pros!
| Name | Symbol | Keys |
|---|---|---|
| Acute Accent (résumé) | ´ | Option + E (followed by key press for vowel) |
| Bullet | • | Option + 8 |
| Cents | ¢ | Option + 4 |
| Copyright Symbol | © | Option + G |
| Degree Symbol (90 ˚F) | ˚ | Option + K |
| Ellipsis (She said she was a dancer…) | … | Option + ; (semicolon) |
| Em Dash (long dash—width of an M) | — | Option + Shift + - (hyphen) |
| En Dash (wide dash, width of an N: Monday–Friday, 6–9 pm) | – | Option + - (hyphen) |
| Eñe (Spanish character with a tilde over n: año, El Niño) | ñ | Option + N (followed by N) |
| Italicized f in ƒ/stop | ƒ | Option + F |
| Registered Trademark (officially used to mark one's property) | ® | Option + R |
| Trademark (unregistered, used to mark one's property) | ™ | Option + 2 |
Double-bonus Tip: Links to additional Apple and Windows special characters.
![]() Triple-bonus Tip: Use the menu, > System Preferences… and select Keyboard in the second row to enable the Show keyboard and emoji viewers in menu bar. You'll be able to use the Keyboard Viewer to see where special characters live on the keyboard so you can type them and the Emoji Viewer to select and insert emoji and special characters into your documents! 😎
Triple-bonus Tip: Use the menu, > System Preferences… and select Keyboard in the second row to enable the Show keyboard and emoji viewers in menu bar. You'll be able to use the Keyboard Viewer to see where special characters live on the keyboard so you can type them and the Emoji Viewer to select and insert emoji and special characters into your documents! 😎
Quadruple-bonus Tip: The Apple icon () can be typed using Option + Shift + K (not available in all fonts).